Playwright quickstart
Playwright is the absolute GOAT in browser automation nowadays. While there are competitors like Cypress and WebdriverIO, choosing Playwright ensures you won’t be disappointed. It has everything you need for end-to-end testing of web applications and maybe even more. Let’s get started with this quick guide.
Install Node.js
First of all, you need to have Node.js installed on your system.
The best way to handle this is by using nvm.
nvm (Node Version Manager) - is a CLI tool that allows you to install and manage multiple versions of Node.js.
Install the current LTS Node.js by using the --lts flag. Or you can install a specific version by adding the version number after nvm install.
curl -o- https://raw.githubusercontent.com/nvm-sh/nvm/v0.40.1/install.sh | bash
source ~/.bashrc
nvm install --lts
Verify the installation by listing the installed versions and checking the Node.js version output.
nvm ls
node --version
Install package manager
In order to manage your project dependencies, you need to have a package manager installed. You can choose between npm, yarn or pnpm. I will use npm in the scope of this article. You don’t need to install it separately, it comes automatically as part of Node.js.
Install Playwright
Playwright has init command that will create a basic folder structure for you.
mkdir playwright
cd playwright
npm init playwright@latest -y- Choose the language you want to use for your tests?
TypeScriptis recommended because it provides type checking and better code completion. - Choose the name of the folder where your tests will be stored?
Default istests. - Do you want to add a GitHub Actions workflow file? Makes sense if you are planning to run tests as part of CI/CD pipeline on GitHub.
- Install Playwright for all three browsers (Chromium, Firefox, WebKit)?
Having browsers installed is required to run tests. Of course, you can install them later. However, if it is your first installation, it is better to have them installed right away. - Install Playwright operating system dependencies?
These dependencies include libraries and tools that are needed for browser automation and testing. Requiressudoorroot. PressNand install them manually with the neccessary permissions.
You should see files and folders created in your project directory after answering the questions.
playwright
├─ .github
│ └─ workflows
│ └─ playwright.yml
├─ node_modules
├─ tests
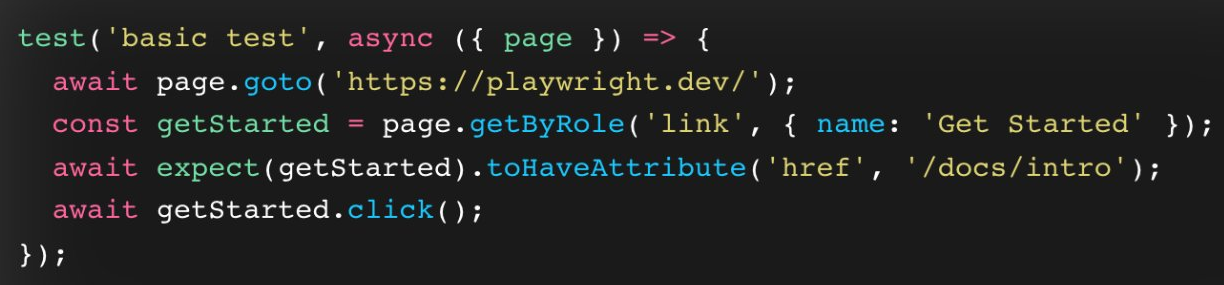
│ └─ example.spec.ts
├─ tests-examples
| └─ demo-todo-app.spec.ts
├─ .gitignore
├─ package-lock.json
├─ package.json
└─ playwright.config.tsInstall system dependencies using sudo
sudo npx playwright install-depsRun tests from terminal
By default, Playwright executes tests across three browsers: Chromium, Firefox, and WebKit, utilizing three workers concurrently. This behavior can be customized in the playwright.config file. Tests are executed in headless mode, meaning the browsers will not open during test execution. Test results and logs are displayed in the terminal.
--headed flag will open the browser during test execution.
npx playwright test --headedInstall VS Code extension
Playwright has an official extension for Visual Studio Code that provides code snippets, IntelliSense, and debugging support. Install the extension from the vscode Extensions tab. After installation, you will be able to run tests directly from the editor.
Test Design Best Practices
- Focus on User-Visible Behaviors
Test what end-users see and interact with, avoiding implementation details. - Test Isolation
Ensure each test runs independently with its own resources (storage, session, data, etc.). Use before/after hooks for setup/teardown, but avoid excessive reliance on them. Consider using setup projects for shared setup tasks. - Avoid Third-Party Dependencies
Test only what you control. Use Playwright’s Network API to mock external responses. - Use Semantic Locators
Prioritize user-facing attributes (roles, labels,data-testid) over brittle selectors (XPath, CSS classes). Use Playwright’s codegen tool to assist with locator selection. - Page Object Model
Structure tests using page objects for improved readability, maintainability, and reusability. - Atomic Tests
Each test should validate a single, specific functionality. - Test Across Browsers
Configure Playwright to run tests across different browsers and devices. - Keep Playwright Updated
Regularly update your Playwright dependency to benefit from the latest features and browser compatibility. - CI/CD Integration
Run tests frequently on CI/CD using Linux for cost-effectiveness, and consider sharding for faster execution. Optimize browser installations on CI by only installing necessary browsers. - Lint Your Tests
Use TypeScript and ESLint (including@typescript-eslint/no-floating-promises) to catch errors early. - Parallelism and Sharding
Utilize Playwright’s parallel execution and sharding capabilities for faster test runs. - Soft Assertions
Use soft assertions to gather all failures within a single test run without immediately halting execution.
Conclusion
Playwright provides powerful tools for modern web application testing. With this guide, you’ve learned to set up a project, run tests, and implement best practices. Consider adding CI/CD pipelines to automate your testing process!